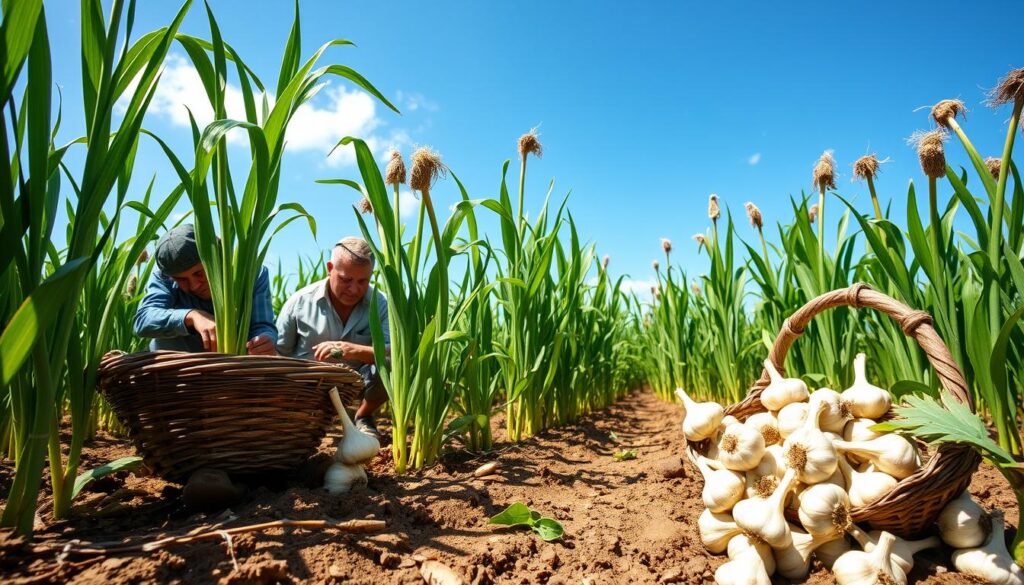
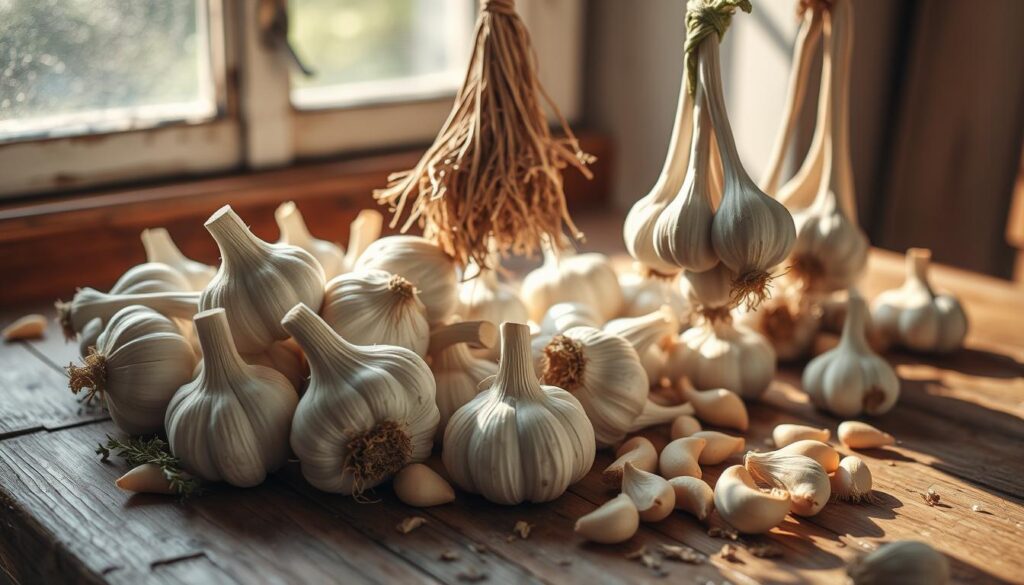
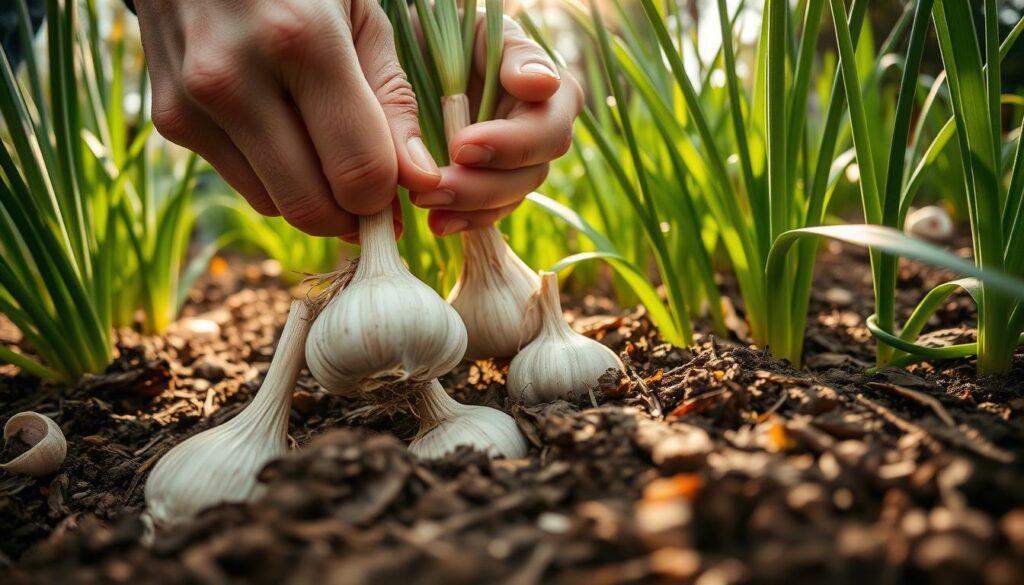
As a passionate gardener, you know growing and harvesting your own garlic is rewarding. Garlic adds flavor to many dishes. With the right techniques, you can get a lot of plump, aromatic bulbs. This guide will cover the best ways to harvest garlic, from knowing when to pick to storing it right. You’ll learn how to get the most from your garlic and enjoy your hard work.

Key Takeaways
- Understand the signs of garlic maturity to time the harvest for optimal flavor
- Gather the right tools and prepare your workspace for a successful garlic harvest
- Follow step-by-step instructions for properly harvesting, curing, and storing your garlic
- Troubleshoot common issues like pests and diseases to protect your garlic crop
- Maximize your garlic yield by incorporating best practices throughout the growing season
Understanding the Garlic Harvest Time
Knowing when to harvest your garlic is key for the best results. As a gardener, watch for signs that your garlic is ready. This way, you can make sure it reaches its full flavor.
Watching for Signs of Maturity
Timing is crucial when harvesting garlic. Look for these signs of maturity:
- The garlic leaves start to turn yellow and brown, typically beginning with the lower leaves.
- The garlic stalks start to fall over, signaling that the bulbs have reached full size.
- The garlic scapes (the curled flowering stems) have begun to straighten out.
Timing the Harvest for Optimal Flavor
The best time to harvest garlic is when half of the leaves have turned brown. This usually happens in late spring or early summer. Harvesting at this time ensures your garlic is full of flavor and size.
“Timing the garlic harvest is a delicate balance – harvest too early and you’ll miss out on the optimal flavor, but wait too long and the bulbs can become tough and woody.”
By watching your garlic plants closely, you can harvest at the perfect time. This way, you get the best taste and quality.
Preparing for the Garlic Harvest
Before you start harvesting your garlic, you need the right tools and a clean workspace. This step makes the harvest smooth and efficient. It also prepares your garlic for curing and storage.
Gathering the Right Tools
Having the right tools makes harvesting garlic easy. Here are the essentials you’ll need:
- A garden fork or trowel to gently loosen and lift the garlic bulbs from the soil
- Pruning shears or scissors to trim the garlic scapes and stalks
- Gloves to protect your hands during the harvesting process
- A clean, sturdy container or basket to collect and transport your harvested garlic
- A clean, well-ventilated area to cure and dry your garlic after harvesting
Having the right tools is crucial for preparing garlic for storage. By gathering these garlic harvesting tools early, you’ll harvest with confidence and efficiency.
“Proper preparation is the key to a successful garlic harvest. Taking the time to gather the right tools will ensure your garlic is handled with care and set up for optimal storage.”
Now that your workspace and tools are ready, you can start harvesting. Carefully lift each garlic bulb, preparing it for curing and storage.
Harvesting Garlic: A Step-by-Step Guide
Harvesting garlic needs careful attention. The right garlic harvesting techniques and best practices for harvesting garlic ensure perfect bulbs. Let’s explore the key steps for a successful harvest.
First, check when to harvest. Watch for signs like brown lower leaves and falling tops. This usually happens in mid-to-late summer, based on your climate.
When ready, gently loosen the soil around the bulbs with a fork or trowel. Don’t pull the plants by the leaves to avoid damage. Carefully lift each bulb, being gentle with the outer layers.
- Brush off extra soil but don’t wash yet. A bit of dirt protects the garlic during curing.
- Collect the garlic and keep the stems on. This helps in proper curing.
- Don’t expose the garlic to direct sunlight. It can dry out too fast. Instead, cure it in a shaded, well-ventilated spot.
By following these garlic harvesting techniques and best practices for harvesting garlic, you’ll enjoy a flavorful harvest. Next, we’ll cover curing and drying your garlic.
Curing and Drying Your Harvested Garlic
After harvesting your garlic, it’s important to cure and dry the bulbs. This step enhances flavor and extends storage life. Let’s look at how to create the best curing environment for your garlic.
Creating the Perfect Curing Environment
Curing garlic is about finding the right temperature, humidity, and air flow. Here are the main points to remember:
- Temperature: Keep it cool and dry, between 60-80°F (15-27°C).
- Humidity: Aim for 60-70% relative humidity.
- Air flow: Good air circulation prevents mold and helps dry evenly.
The best place for curing is a well-ventilated area like a garage, shed, or spare room. Stay away from direct sunlight to avoid drying out too fast.
| Curing Condition | Optimal Range |
|---|---|
| Temperature | 60-80°F (15-27°C) |
| Relative Humidity | 60-70% |
| Air Flow | Ensure good circulation |
By setting up the perfect curing space, you’re on your way to curing garlic after harvesting and preparing garlic for storage successfully.

“Properly curing your garlic is the key to ensuring it lasts through the winter and beyond.”
Storing Your Garlic for Long-Term Use
After harvesting and curing your garlic, it’s time to keep it fresh for months. The right storage is crucial to keep your garlic flavorful. Let’s look at the best ways to store your garlic for long-term use.
Choosing the Right Storage Containers
Choosing the right container is key for harvested garlic. Here are some top picks:
- Mesh bags or baskets: These let air circulate well, which is vital for preparing garlic for storage.
- Wooden crates or boxes: Strong and well-ventilated, they keep the right humidity and temperature for garlic.
- Paper or breathable cloth bags: They balance air flow and protect from light, which can harm the garlic’s quality.
Stay away from airtight containers, as they can trap moisture and cause mold or rot. You want a container that lets air in but keeps sunlight out.
| Storage Container | Advantages | Disadvantages |
|---|---|---|
| Mesh Bags or Baskets | – Excellent air circulation – Breathable | – Potential for damage from pests |
| Wooden Crates or Boxes | – Sturdy construction – Well-ventilated | – Can be bulky and take up more space |
| Paper or Cloth Bags | – Protect from light – Provide some air flow | – May not offer as much protection as other options |
The best container for your stored garlic depends on your space and what you like. Think about each option’s pros and cons to find the best one for you.
Best Practices for Harvesting Garlic
Harvesting garlic is key to a great crop year after year. By following some best practices, you can make the most of your garlic harvest. Here are some top tips for harvesting garlic like a pro.
Time It Right
The timing of your garlic harvest is crucial. Watch your garlic plants closely for signs like brown foliage and dying bottom leaves. This means the bulbs are ready. Harvest when about 50% of the leaves have turned brown.
Handle with Care
Be gentle when harvesting garlic. Don’t pull the plants up by the leaves to avoid damaging the bulbs. Use a garden fork or trowel to loosen the soil, then lift the plant carefully. Shake off excess soil but don’t clean the bulbs too much yet.
Cure and Dry with Precision
After harvesting, curing and drying your garlic is key. Spread it out in a well-ventilated, shaded area for 2-4 weeks, depending on your climate. Once cured, trim the stems and roots, leaving an inch of each. Then, store your garlic harvest.
| Best Practices | Benefits |
|---|---|
| Timing the Harvest | Ensures optimal flavor and storage life |
| Gentle Handling | Prevents damage to delicate bulbs |
| Proper Curing and Drying | Extends shelf life and preserves quality |
By following these best practices for harvesting garlic, you’ll enjoy your homegrown garlic at its best. With a bit of care, you’ll have a successful garlic harvesting season.

“Garlic is the culinary jewel of the garden, and proper harvesting is the key to unlocking its full potential.”
Troubleshooting Common Garlic Harvesting Issues
Even experienced gardeners can run into problems when harvesting garlic. Pests and diseases can harm the quality and amount of your garlic. We’ll look at common issues and offer solutions to help you succeed.
Dealing with Garlic Pests and Diseases
Garlic faces many pests and diseases that can damage your crop. Some common ones include:
- Garlic Aphids – These tiny insects suck sap, stunting plant growth and distorting garlic.
- Garlic Rust – A fungal disease that causes orange spots on leaves, leading to early death.
- Stem and Bulb Nematodes – Tiny worms that harm garlic plants, causing stunted growth and color changes.
To fight these problems, try these steps:
- Check your garlic plants often for pests or diseases and fix issues quickly.
- Use natural pest control, like introducing beneficial insects or neem oil.
- Rotate crops and keep your garden clean to stop disease spread.
- Make sure your garlic grows in the best conditions, like well-drained soil and enough space.
By being alert and taking action, you can solve garlic harvesting issues and deal with garlic pests and diseases. This way, you’ll get a great harvest.
“Successful garlic harvesting is all about anticipating and addressing potential challenges. With the right mindset and strategies, you can overcome even the toughest obstacles.”
Maximizing Your Garlic Yield
Getting a lot of garlic from your garden is every gardener’s dream. By using the best tips from this article, you’re ready to boost your garlic harvest. Here, we’ll give you more advice to help your garlic grow well, whether you’re experienced or new to growing garlic.
Soil quality is crucial for a good garlic harvest. Make sure your soil drains well and is full of organic matter. This gives your garlic the nutrients it needs to grow strong. Adding compost or manure to the soil can really help your garlic grow.
Also, keep an eye on your garlic plants while they’re growing. Pull out weeds to stop them from taking nutrients and water from your garlic. Watch out for pests and diseases too. Quick action can save your garlic from harm.
Think about how close you plant your garlic cloves. Planting too many together can make your garlic smaller and less. Try different spacing to see what works best for your garden.
Don’t forget about curing and storing your garlic. Taking the time to dry and store it right can make it last longer. By following the storage tips in this article, you can keep your garlic fresh for longer.
With these extra tips, you can grow more and better garlic. Enjoy the taste of your hard work!
Conclusion
Harvesting garlic needs careful attention, but with the right steps, you can get a lot of tasty garlic. Watch for when it’s ready, use the best harvesting methods, and cure and store it well. This way, you can enjoy your garlic for a long time.
By following these tips, you’ll grow amazing garlic at home. Paying attention to every detail is key. From when to pick it to how to store it, mastering garlic harvesting unlocks its full flavor.
This guide is for both experienced and new garlic growers. It shares the best practices for harvesting garlic and garlic harvesting tips to help you succeed. Enjoy the journey and the tasty results of your hard work.
FAQ
When is the best time to harvest garlic?
The best time to pick garlic is when the lower leaves turn brown and die. This usually happens in late spring or early summer. You’ll know it’s ready when the tops start to fall over.
How do I know when my garlic is ready to be harvested?
Look for these signs to know your garlic is ready: – The lower leaves have turned brown and dried up – The tops have started to fall over and flop down – The bulbs have filled out and feel firm to the touch – You can see the outline of individual cloves through the skin of the bulb
What tools do I need for harvesting garlic?
You’ll need these tools to harvest garlic: – Garden fork or trowel to carefully lift the bulbs from the soil – Pruning shears or scissors to trim off the stems and roots – Buckets or crates to collect and transport the harvested garlic – Gloves to protect your hands while handling the bulbs
How do I properly cure and dry garlic after harvesting?
After harvesting, you need to cure and dry the garlic. Hang it in a well-ventilated, shaded area with low humidity for 2-4 weeks. Make sure it gets air on all sides. Once the outer skins are dry and papery, trim the stems and roots and store it.
What’s the best way to store harvested garlic?
To store garlic, keep it in a cool, dry, dark place with good air circulation. You can hang it in mesh bags or crates, or store it in paper or breathable containers. Avoid plastic bags or airtight containers to prevent mold. Properly stored garlic can last 6-12 months.
